Quickshop E-Commerce Solution, v1.0
Blaze's e-commerce solution provides you with a relatively easy way to add a shopping cart to your website. Simply follow the directions below. Please note that both of our components require previous knowledge of HTML in order to preform minor manipulation of the code that Quickshop generates.
Run the setup.exe file provided. It will allow you the option of Installing the Dreamweaver 2.0, Dreamweaver 3.0 or Frontpage 2000 components. If you are only installing the plugin for one of the programs listed, deselect the other ones, as it will install unnecessary files.
All Versions - Please Read
All versions of the Quickshop solution require the use of Frames. When creating the store front for your ecommerce business create a page with a small frame at the bottom of the screen. That bottom frame will be used to display the shopping cart, while the top frame will contain the pages of items for sale. When using the Quickshop Item Creator (listed below in the different versions available) you are creating the storefront pages, listing the items that you will offer. With the code listed below you must call the bottom frame rbottom (as shown in the form tag).
In order to create a simple frameset with the settings required just copy and paste this text as an HTML document. When people visit your online store direct them to the page that contains this code. The storefrot page that you want them to view should be inserted where it is indicated:
<html>
<frameset rows="*,80" frameborder="NO" border="0"
framespacing="0">
<frame name="top" src="storefrontpage.html">
<frame name="rbottom" scrolling="yes" noresize
src="bottom.html">
</framset>
<noframes>
<body></body>
</noframes>
</html>
If you have a navagation bar, or links to other store pages include the following in the link tag:
target="top"
That way all of your pages will be displayed in the top frame and the shopping cart will be displayed in the rbottom frame.
Frontpage Version
Step One: Open FrontPage and run quickshop.
1. Open FrontPage
2. Open
the page you want to install the Quickshop items on. Create a Form that
has the following form code:
<form method="POST" name="your form
name" target="rbottom" action="quickshop.php">
3. Now click
on File/New Page.
4. Select Blaze Quickshop Item Creator.
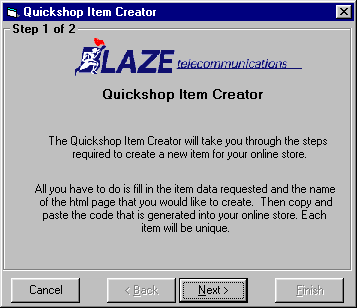
5. Read the instructions, then click Next.

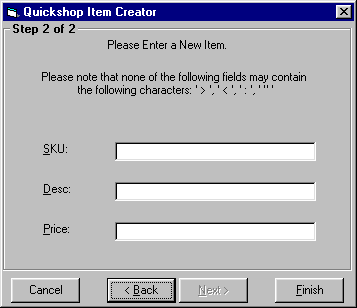
6. Enter the SKU number, the Item Description and the Price.
7. Click Finish (please note that your entries cannot contain ' : ', '
< ', ' > ', ' " ')

8. This will create a new webpage with the code that you need for One
quantity field that will be used with our Quickshop E-commerce Solution.
Step Two: Build around the Quickshop Item.
5. At this
point you can put the code into any design that you wish, a quick suggestion
is a table with a cell for the Item Name and the cell next to it containing
the Quantity field that Quickshop Item Creator created.
6. Repeat 3-5 to create a new Quickshop Item, until you have your list
of items.
7. Create a Submit Button at the bottom of the form with the following
code:
<input type="submit" value="Add
to Cart" name="Operation"> <input type="reset"
value="Reset" name="reset">
Dreamweaver Version
Note that this version works in Dreamweaver 2.0 and 3.0.
Step One:
Open Dreamweaver, create a new document and create your products page
1. Open Dreamweaver
and create a new page
2. Create
a Form that has the following form code:
<form method="POST" name="your form name" target="rbottom" action="quickshop.php">
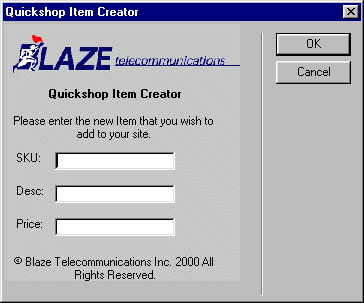
3. Inside the form click Insert: Quickshop Item Creator.

4. You will now have your first quantity field.
5. At this point you can put the code into any design that you wish, a
quick suggestion is a table with a cell for the Item Name and the cell
next to it containing the Quantity field that Quickshop Item Creator created.
6. Repeat 3-5 to create a new Quickshop Item, until you have your list
of items.
7. Create a Submit Button at the bottom of the form with the following
code:
<input type="submit" value="Add to Cart" name="Operation"> <input type="reset" value="Reset" name="reset">