Reinstalling the TCP/IP Protocol in Windows 9x
When your TCP/IP Protocol is corrupted (not fully functional), sometimes Microsoft Windows will give a "cannot connect" error box when you are trying to dial up to Blaze. These are instructions on how to safely remove and do a fresh install of the TCP/IP protocol.
Use the left mouse button when doing these steps unless otherwise specified.
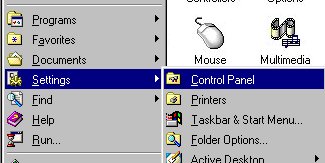
Step One: Open up the Control Panel.
Move your mouse pointer to the bottom left hand corner of your screen. You should see a button labeled "Start" with a little Windows icon on the left of the text. Click on it, this will open up the Start Menu. Move your mouse to Settings, and another menu will pop up. On this menu, click on Control Panel. The below picture indicates where you should look.
The below window will pop up.
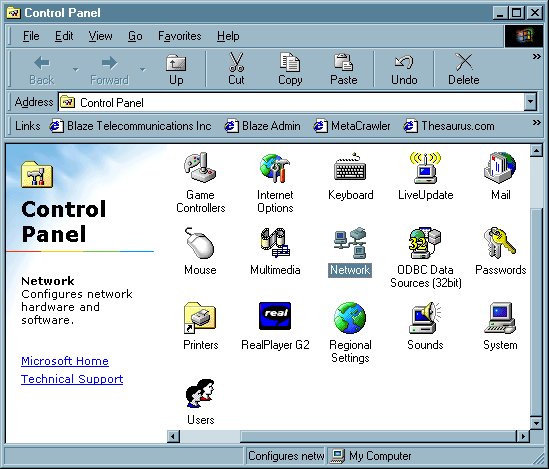
Step Two: Locate the "Network" icon (highlighed above) and double click it to open the Network Properties.
The
below window will pop up.
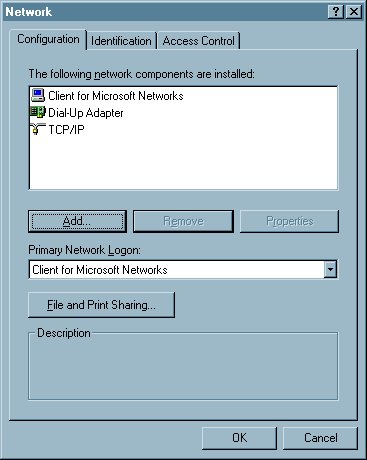
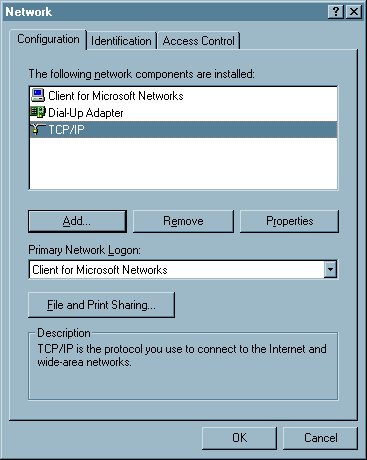
Step Three: Locate the TCP/IP protocol for the Dial-Up Adapter (highlighted below) and click on it once to highlight it.
Click on the "Remove" button below and your system may ask you to insert your Win 9x cd and/or restart. If so, insert it and then restart (also known as reboot) your computer. After it has restarted, repeat steps One and Two and continue to Step Four.
Step
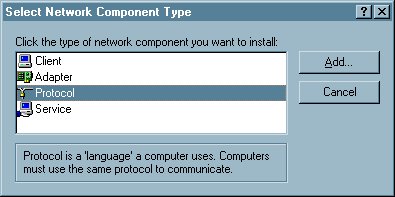
Four: Click on the "Add..." button. The below window will pop
up.
Select "Protocol" by clicking on it once, then click "Add..."
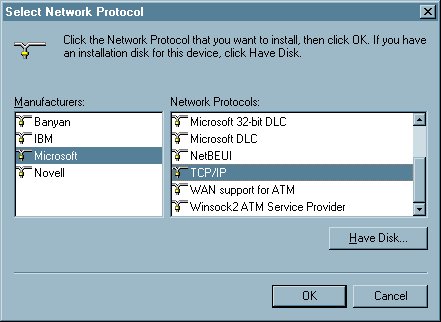
The below window will pop up. On the left hand side, in the "Manufacterers" box, select "Microsoft".
Then, in the "Network Protocols" box, select "TCP/IP". Click on "OK". You may be asked to insert your Win 9x cd and/or reboot. If so, insert the cd and afterwards let it reboot.
That's it! You have successfully reinstalled the TCP/IP protocol for your dial-up adapter!